
We build Enterprise AI. We teach what we learn. Join 100K+ AI practitioners on Towards AI Academy. Free: 6-day Agentic AI Engineering Email Guide: https://email-course.towardsai.net/
A practical system for conquering dense documentation, complex tools, and heavy technical books — with a real example walkthrough.
Photo by Hümâ H. Yardım on Unsplash
I used to mass read documentation tabs until my brain crashed.
Or jump through tutorial after tutorial — only scratching the surface, learning fragments without ever seeing the full picture.
Sound familiar?
After too many abandoned learning attempts, I built a system using NotebookLM that changed everything. Now, whether it’s Docker, LangGraph, Kubernetes, or a 600-page technical book — I follow the same 11-step workflow.
In this article, I’ll walk you through the exact process with screenshots from a real example.
The Example: A Perfect Stress Test
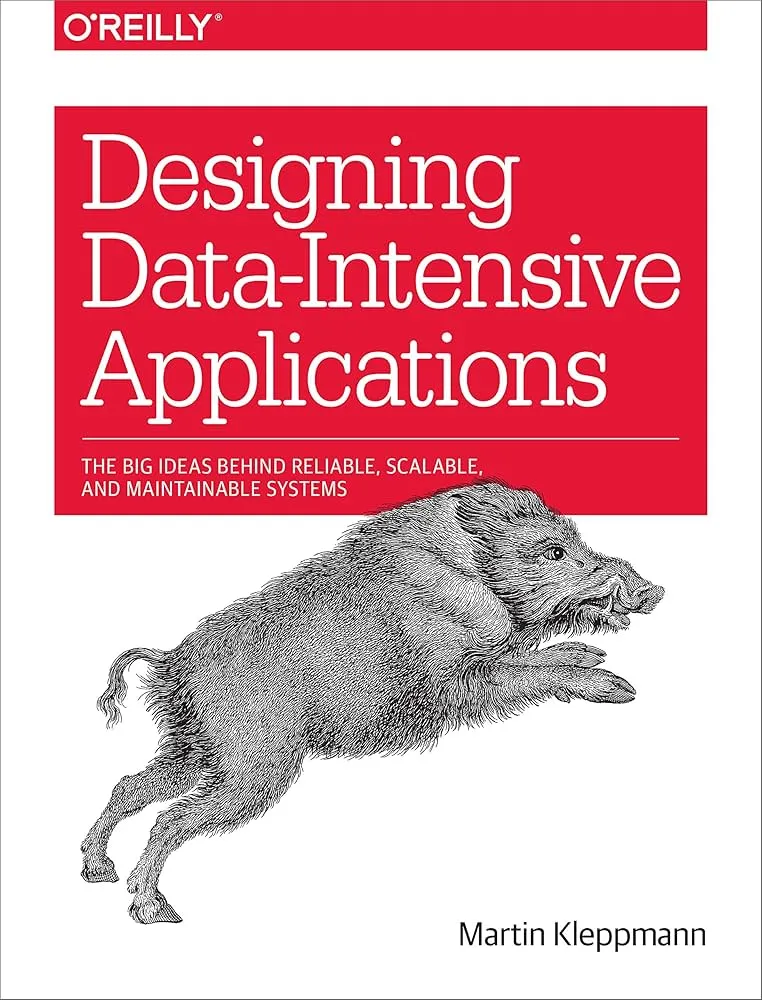
The infamous DDIA book cover
To demonstrate this workflow, I needed something notoriously difficult.
I chose Designing Data-Intensive Applications by
If you’re in data engineering or backend development, you know this book. It’s a gem — genuinely one of the best technical books written. But let’s be honest:
- It’s 600+ pages of dense, academic writing
- It’s heavy on theory with minimal hand-holding
- It’s the kind of book people start three times and never finish
A perfect stress test for the workflow.
If this system can make DDIA approachable, it can work for anything.
The Workflow Overview
Here’s the full system visualized:
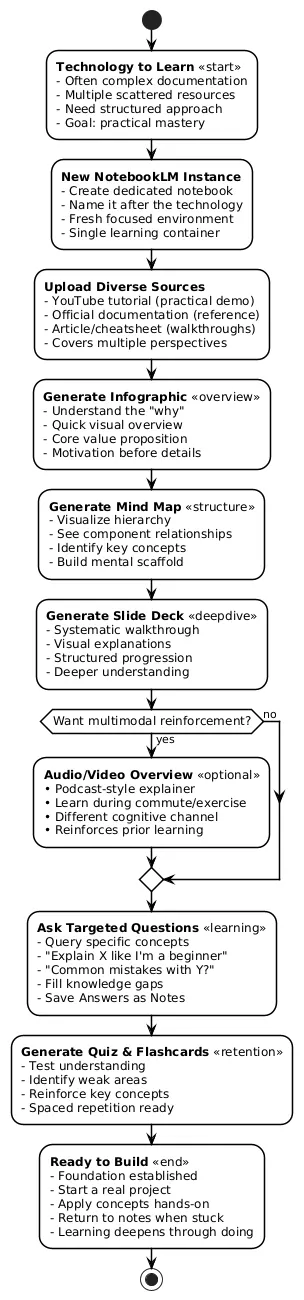
My NotebookLM workflow Activity Diagram
Five phases. Eleven steps. Let’s break it down.
Phase 1: Setup
Step 1: Create a Dedicated NotebookLM Instance
Create a fresh notebook specifically for what you’re learning.
Why dedicated? NotebookLM’s AI only reasons over the sources in that notebook. No noise. No distractions. One focused learning container.
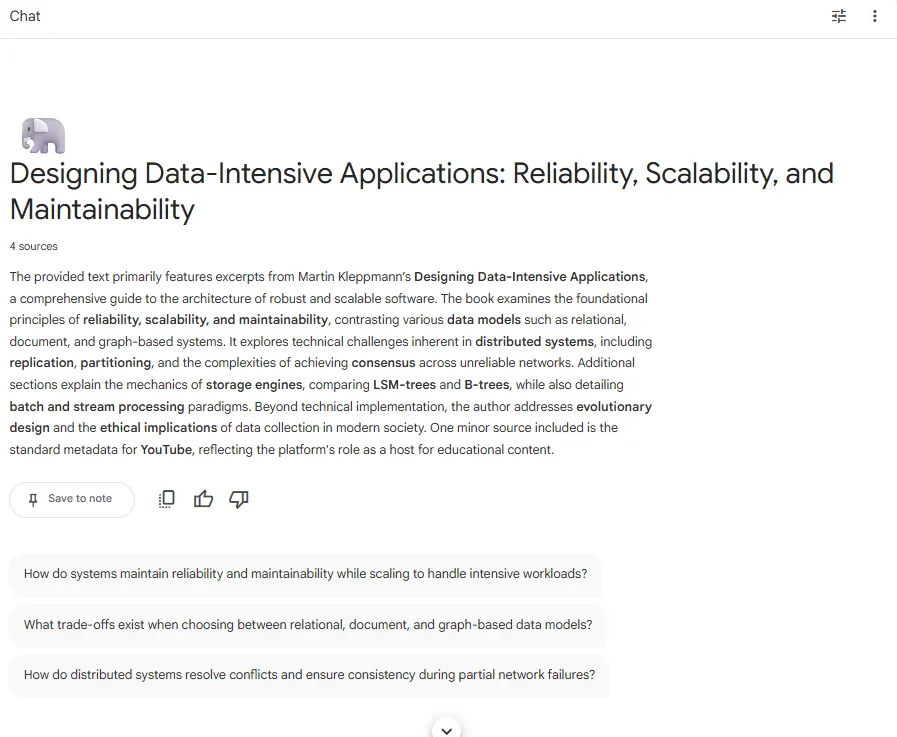
NotebookLM Main dashboard
Step 2: Upload Diverse Sources
Here is where the magic starts, my favorite way to get tackle a new technology is to build a ‘triangulated’ view by upload three different types of sources:
📹 Video tutorial (I used: YouTube videos from Benjamin Dicken’s videos of Chapters 1–2) → Practical demo, visual explanations, someone walking you through it
📖 Documentation or Book (I used: DDIA PDF) → Authoritative source of truth, complete and comprehensive
📝 Article or Summary (I used: “What I Learned from DDIA” by Milan Milanovic) → Real-world context, use cases, someone else’s distilled takeaways.
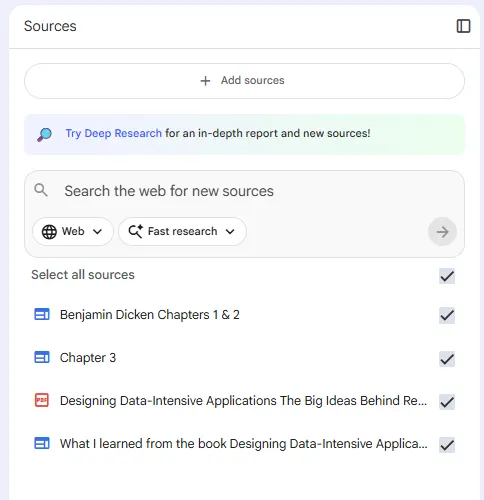
Sources Panel
Why this combination is the game changer:
Docs alone are dry. Tutorials alone are shallow. Articles alone lack structure.
Together? You get theory + practice + context — and NotebookLM synthesizes all three into one queryable knowledge base.
Phase 2: Big Picture
Step 3: Generate Infographic
Before diving into hundreds of pages, we need to understand why this book matters. What’s the core message? What problem is it solving? This is where the Infographic feature shines.
Two ways I use this:
1. Full overview (start here) Generate an infographic with no custom prompt. This gives you the big picture of the entire content — in my case, a visual summary of the whole book. Great for initial orientation.
2. Focused infographics (as you progress) As I move through each section, I generate focused infographics using custom prompts. This lets me zoom into specific parts without the noise of everything else.
Example prompt I used:
“Create an infographic focused on Part 1: Foundations of Data Systems”
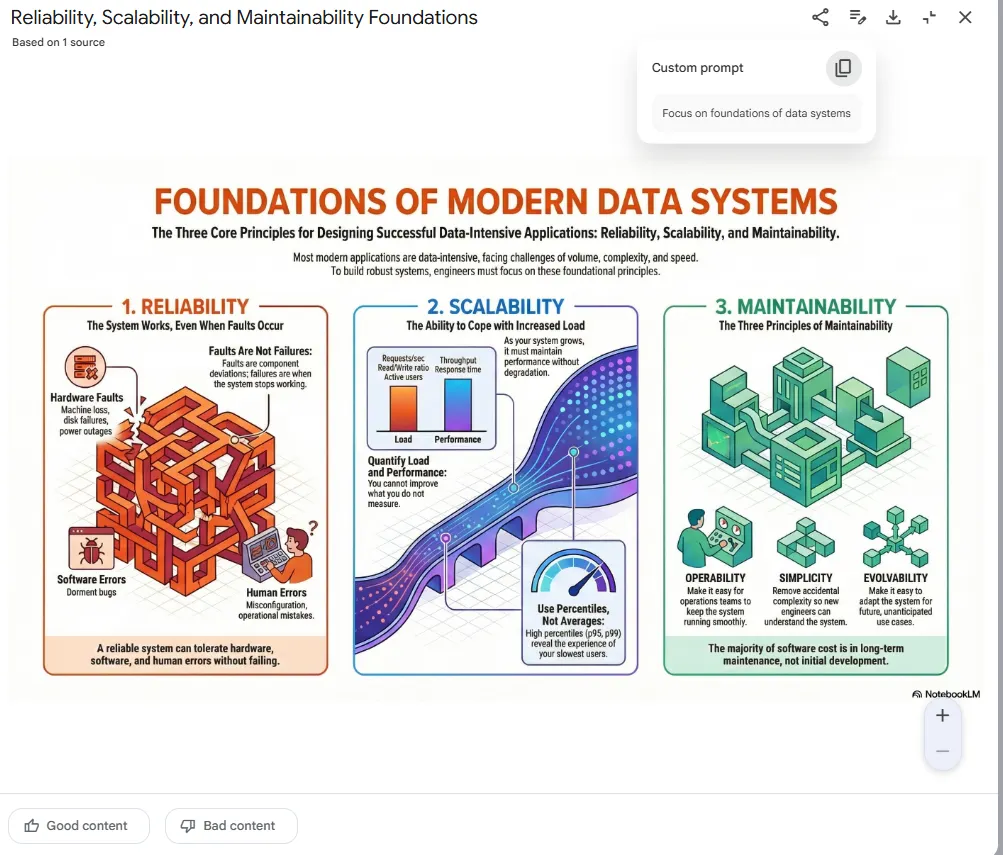
Custom-prompted infographic for Part 1
Why this step matters:
You need motivation before complexity. The infographic gives you:
- The core thesis in visual form
- Key themes you’ll encounter
- A reason to care before the deep dive
And by generating focused infographics per section, you get that same clarity at every stage — not just the beginning.
Think of it as the movie trailer before the 3-hour film.
Phase 3: Structure
Step 4: Generate Mind Map
Now see the “what” — the structure of what you’re about to learn.
Generate a Mind Map to visualize:
- How concepts relate to each other
- The hierarchy of topics
- What’s foundational vs. advanced
In NotebookLM, the Mind Map is interactive: you can click on branches to expand or collapse subtopics, letting you drill into a specific leaf or zoom back out to a higher-level view
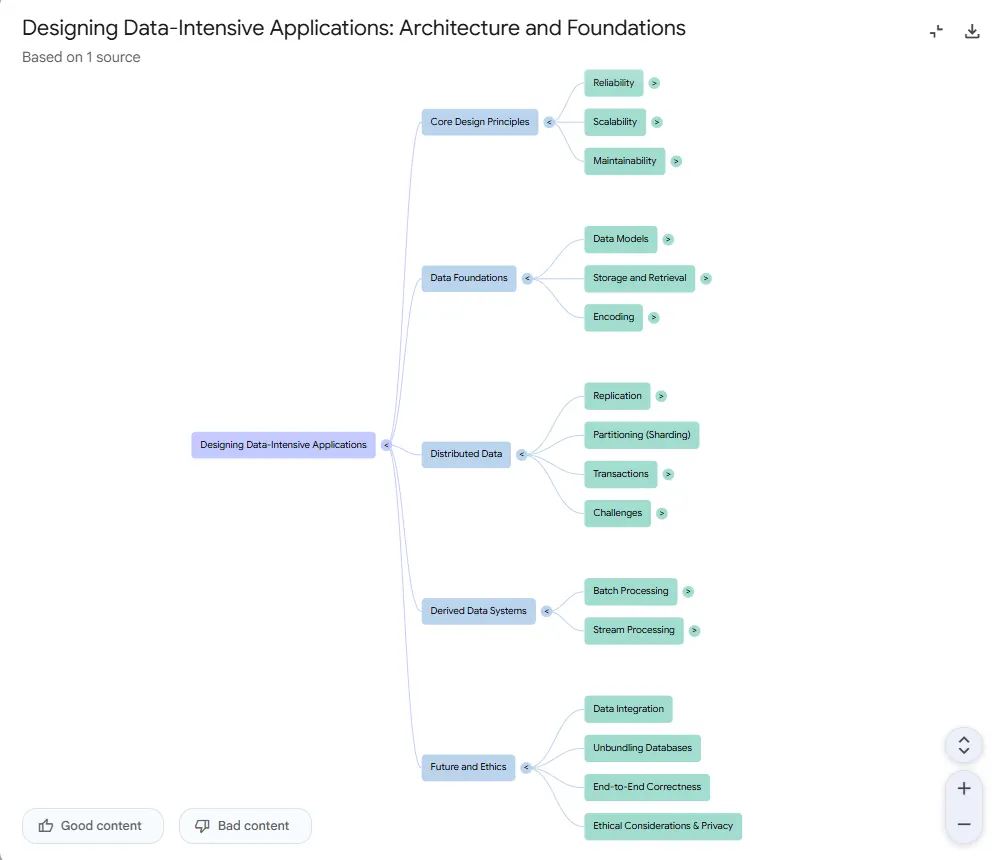
Why this step matters:
Complex topics feel overwhelming because you can’t see the shape. The Mind Map gives you a mental scaffold — suddenly you know where you’re going.
Step 5: Generate Slide Deck
Now get a structured walkthrough you can go through sequentially.
Generate a Slide Deck with a focused prompt:
“Create a slide deck covering Chapter 1: Reliable, Scalable, and Maintainable Applications. Include key concepts and examples.”
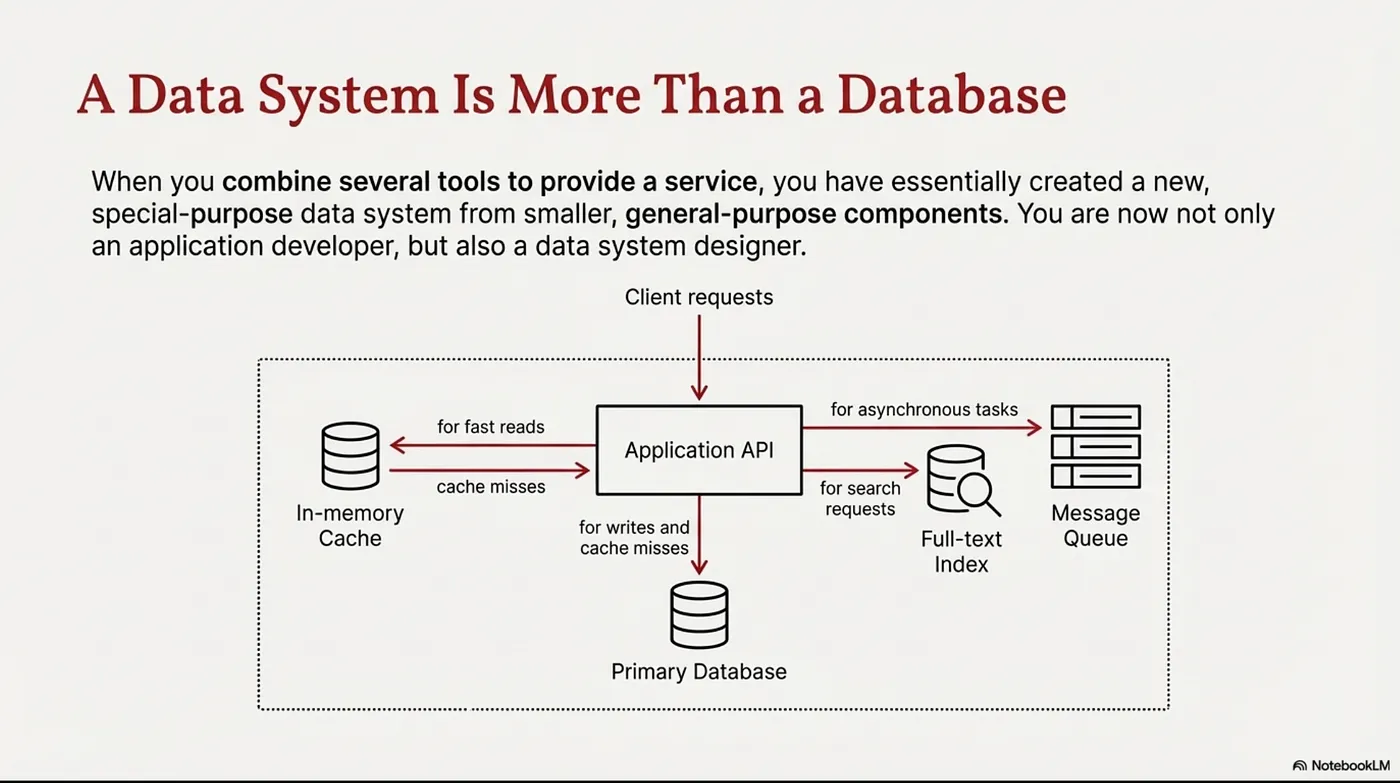
Sample slides from the generated deck
Why this step matters:
Reading is passive. A slide deck forces content into digestible chunks with clear progression — like having someone prepare lecture notes for you.
Step 6 (Optional): Audio or Video Overview
If you’re a multimodal learner, generate an Audio Overview — a podcast-style explainer of your content.
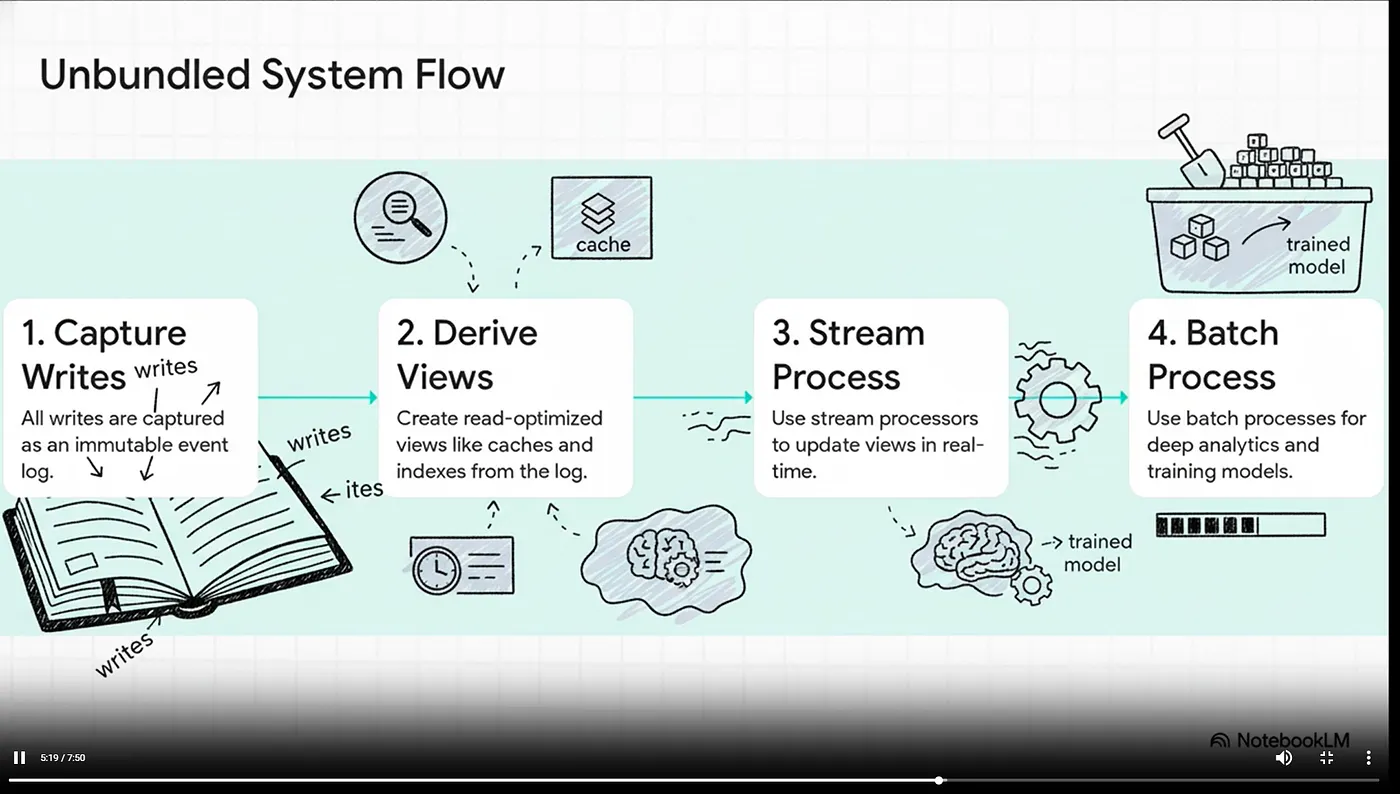
Video Overview Player
When to use: Commuting, exercising, cooking — any time you can listen but not read.
Same content, different cognitive channel. Strengthens retention.
Phase 4: Active Learning
Step 7: Ask Targeted Questions
Shift from passive consumption to active engagement.
As you go through the material, ask NotebookLM targeted questions:
- “Explain latency vs response time like I’m a junior developer”
- “What are the three main concerns every data system must address?”
- “What are common mistakes when designing for reliability?”
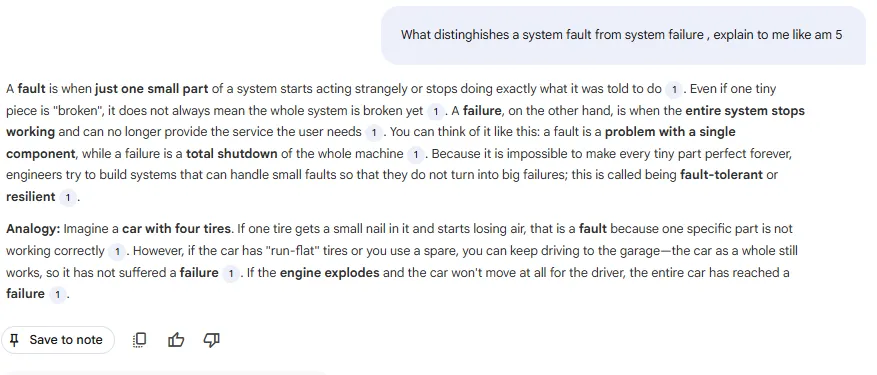
When NotebookLM gives you a strong explanation, use Save to note to pin that answer into your notes panel so it does not get lost and keeps its original formatting and citations
Why this step matters:
- Questions expose gaps and force you to think.
- Saving high‑quality answers builds your personal knowledge base — explanations in language you understand, organized by concept and backed by source-linked citations instead of fragile chat history.
Step 9: Explain Back (Feynman Technique)
The most underrated step.
The Feynman Technique: if you can’t explain something simply, you don’t understand it.
Use NotebookLM as your “student”:
“I’m going to explain reliability, scalability, and maintainability. Tell me if I’m wrong or missing something.”
Write your explanation. Let NotebookLM point out gaps.
Why this step matters:
Teaching forces articulation. It exposes blind spots you didn’t know existed. The discomfort is the learning happening.
Phase 5: Testing & Retention
Step 10: Generate Quiz
Test your contextual understanding.
Generate a Quiz — NotebookLM creates questions based on all your sources.
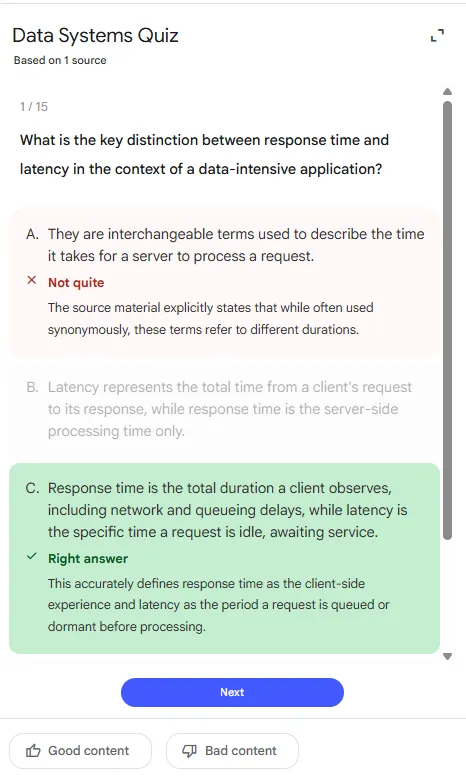
Quiz Question Example
Why this step matters:
Quizzes test relationships between concepts, not just isolated facts. Active recall is one of the most evidence-backed learning techniques — testing yourself strengthens the neural pathways.
Step 11: Generate Flashcards
Finally, generate Flashcards for terminology and definitions:
- What is fan-out?
- Define fault vs failure
- What does SLA stand for?
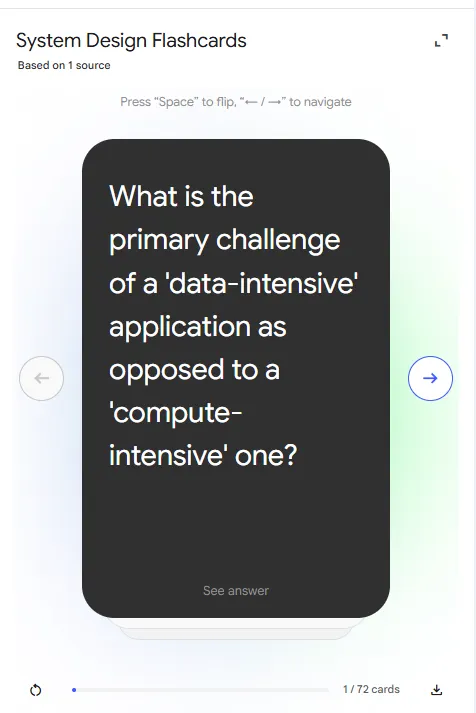
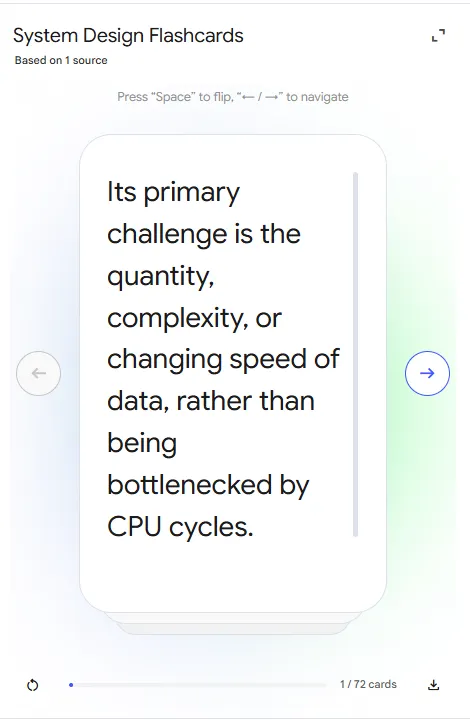
Why this step matters:
Flashcards lock in the building blocks. They’re spaced repetition ready — revisit them periodically to prevent forgetting.
The Outcome: Ready to Build
After this workflow, you have:
✅ Understood why the topic matters (Infographic) ✅ Seen the structure and relationships (Mind Map) ✅ Gone through a systematic walkthrough (Slides) ✅ Asked questions and filled gaps (Chat) ✅ Validated understanding by teaching back (Feynman) ✅ Tested yourself and identified weak spots (Quiz + Flashcards)
The material didn’t change. Your approach did.
Now the next step: go build something. Apply it. The learning deepens through doing.
Explore the Notebook
I’ve shared the actual NotebookLM notebook from this walkthrough.
Explore the sources, the generated outputs, and my saved notes.
Feel free to duplicate it as a template for your own learning.
Over to You
What’s one technology or book on your “too dense, never finished” list?
Try this workflow. Let me know how it goes.
Responses (25)
lookoutking
I mean, this is by far one of the best articles I've read on medium. Thanks Medium, this is paying my monthly subscription.[
Jan 21
Awesome job done here. Keep such articles coming.4
It’s a excellent article ! Really very well explained.2